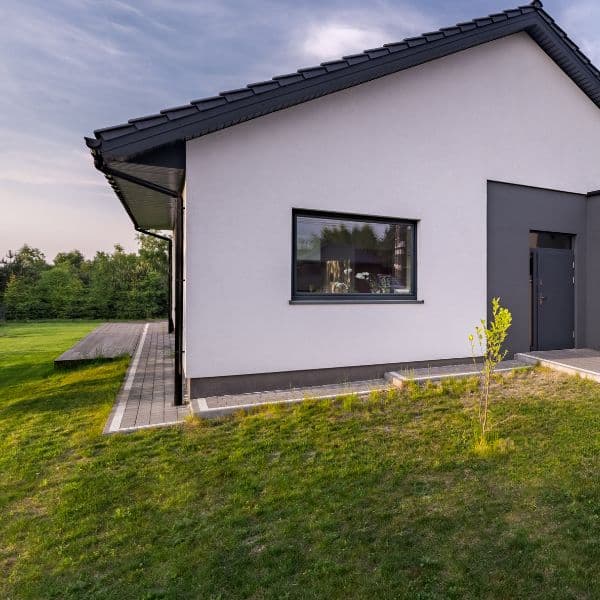
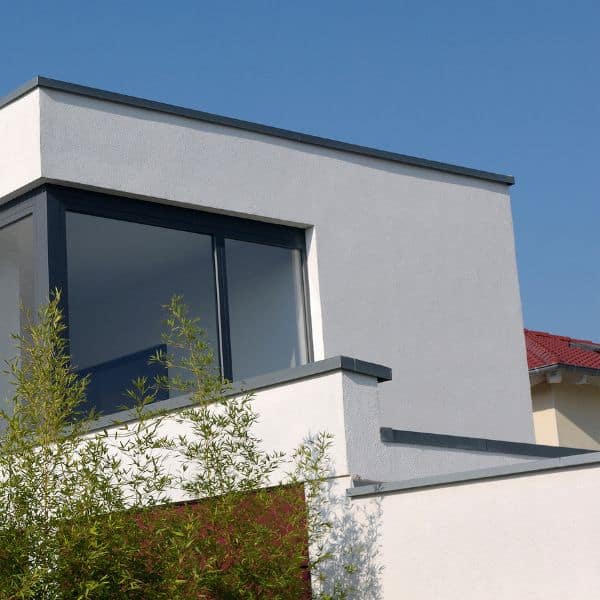
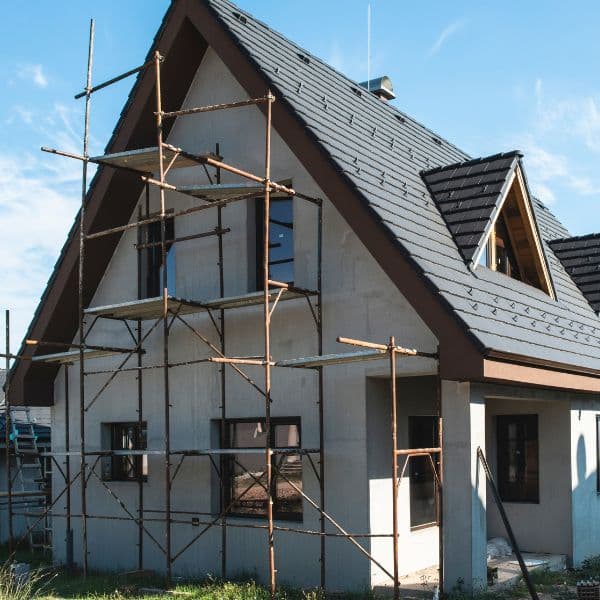
What is K rendering, and why are people interested in it? These questions today are some of the reasons why rendering has become a popular choice in the UK today.
Below, we explain all that is to know about what is K rendering, and its application.
K-rendering is a type of render produced by Kilwaughter Corporation under the brand name K-rend. It offers various options in terms of color and texture, allowing for versatile and customizable finishes. K-rend can be applied manually or by machine.
K-rend offers traditional mineral-based renders with a limestone treatment and organic resin renders known as "bucket mix." The latter is water-repellent, breathable, and low-maintenance due to the inclusion of silicone.
The Kilwaughter corporation is the owner of the brand name known as K-rend. Like other well-known brands such as Walkman and Hoover, its name is frequently used to refer to various renderings. However, K-rend has its very own distinct sorts as well as advantages.
So then, what is K rendering all about? K-rend is known for producing a rend with a substantial coat traditionally mineral-based and treated using limestone. You have access to over 500 distinct color and texture combinations when purchasing this product, allowing you to create virtually any appearance you desire. K-rend is delivered to the location in pre-bagged form. The K-rend pattern can be applied either by hand or by machine.
K-rend has also begun making organic resin renders, known as "bucket mix." These renders do not contain cement and come as a ready-to-mix paste. K-"bucket rend's mix" renders are also known as "bucket mix." This particular variety of K-rend contains silicone, which imparts the material with water-repellent, breathable, and exceptionally low-maintenance properties.
If you are rendering over anything other than bare brickwork, you will almost always need to apply a base coat before applying the K-rend. This is especially the case if you are rendering over a concrete surface. If you want to avoid the paint coming off or the house not having a suitable seal once it is rendered, you will need to remove the paint if your home is currently painted.
Even though K-rend does not fulfill the requirements for exterior wall insulation (EWI), it is possible to add this insulation to it if lowering your carbon footprint or the cost of your energy bills is a top priority.
Here are some of the benefits of K rendering as they are essential in understanding what is K rendering about.
The benefits include:
K-rend is designed to last for thirty years, which means that you won't have to repaint your house every three to five years. After the K-rend has been applied to the exterior of your home, you won't feel the need to do any additional decorating because you have such a wide variety of possibilities available to you in terms of colors and styles.
Additionally, K-rend is simple to clean up after use. It should be treated with algaecide once every year, and then the mixture should be washed away with your garden hose. The K-rend does not require a power washing at this time.
K-rend was explicitly developed to be resistant to the growth of algae. If you live in a coastal/rural region, it will be crucial to choose a finish that is algae-repellent because, contrary to common opinion, the likelihood of algae growth increases in environments with cleaner air.
Although K-rend is impervious to the elements, it does allow water vapor to pass through it. In simple terms, this translates to excess moisture being able to escape from your home, allowing it to "breathe." It means you're less likely to struggle with condensation, which may make your house unpleasant and cause health problems if mold isn't treated correctly and allowed to develop unchecked.
Takeaway: The silicone technology allows water vapor to move freely through the render while significantly decreasing the quantity of water absorbed by the render's surface. This provides your property with the maximum level of breathability possible.
The water-repellent surface ensures that the surface will continue to have a recently rendered and visually pleasant appearance for an extended period. In addition, the finish is drier, making it more resistant to the formation of algae and easier for you to keep clean.
With you knowing what is K rendering and the benefits of apoplying K rend, you can proceed with learning about its applications

Applying K-rend depends on various factors such as mix, what you are applying, and more.
You can read all instructions here, but we have provided three instructions below. This would bring you closer to understanding what is k rendering.
Applying K-rend to brick walls involves preparing the surface, using beading for stops and corners, and applying base coats, followed by the K1 silicone K-rend. Proper mesh placement and scratching are essential for a successful application.
The process of applying K1 silicone K-rend to dense blockwork is similar to brickwork, with attention to surface preparation, base coats, and mesh placement.
Applying K-rend to lightweight blockwork may require the use of the K-Rend HPX basecoat, with a process similar to brickwork.
The most frequent masonry building in the UK is a brick wall, and it is normal for brick wall owners to learn what is K rendering about so they can also apply this type of render. Using ornate brickwork to complete an outside wall is still prevalent. Some UK brick walls are over 100 years old, and some masonry weakens and lets in water. Water flowing through the wall might damage the property's plasterwork.
The K-Rend K1 silicone scraped finish is improved with silicone to prevent further brick damage from precipitation.
Silicone protects the K-Rend K1 silicone scraped finish from rain.

You can render lightweight blockwork or clay blocks, but you may need a different basecoat. We recommend the K-Rend HPX basecoat, but it's not always in stock. Check with us in-store or by phone for alternatives. Installation on typical brickwork is comparable.
Just like we already explained above, K-rend, with its fascinating technology, is designed to last for thirty (30) years, and you do not need to repaint your house every five years if you use K-rend. All this is important to note when trying to understand what K rendering is all about.

In recent years, K-rendering has seen a meteoric rise in popularity, and there is sound logic behind this trend and we offer this as a professional service. You should understand why, as we have explained what is k rendering in this post. The finish on K-rendered homes and buildings is sleek and sophisticated, and it features a dizzying array of color palettes and surface patterns. This finish also lasts for decades rather than just a few years because the color goes all the way through the render. It also makes your home more breathable and weather-resistant, both of which are obviously vital for the comfort you will experience in the long run.
Yes, K-rend can be applied to various surfaces, including brickwork, dense blockwork, and lightweight blockwork. The specific basecoat and application method may vary depending on the surface type.
While K-rend doesn't fulfill the requirements for exterior wall insulation (EWI), it's possible to add insulation to it, helping improve energy efficiency and reduce energy bills.
The choice of K-rend variety depends on your specific project and design preferences. Traditional mineral-based K-rend or organic resin renders known as "bucket mix" are available, each with its unique advantages.
The cost of K Rend can vary depending on factors such as the type of K-render variety, the project's size, and location. Traditional mineral-based K-rend may be more cost-effective compared to organic resin renders.
K-rendering is designed to last for up to 30 years.
The coverage of a 25kg bag of K Rend can vary based on the thickness of the application and the surface type. Generally, it can cover an area of approximately 1 to 1.5 square meters at a thickness of 10-15mm.
Yes, you can K Rend over brickwork. Proper surface preparation, including the use of beading for stops, corners, and drips, is essential. The process involves applying base coats and the specific K-render variety, such as K1 silicone K-rend.