Exterior wall rendering as a protective coat against weather elements. However, over time, it's common for holes to appear due to wear and tear. Your home's insulation and allow moisture to seep through leading to more significant issues if left unaddressed. In this guide we'll walk you through a straightforward process to fix holes in your exterior wall rendering ensuring your home remains beautiful and protected.
Before we dive into the repair process it's essential to understand what wall rendering is. Rendering is the application of a mixture typically made of sand, cement and lime to the exterior walls of a house. This layer can be textured or smooth, with the primary goal of providing an aesthetically pleasing look while offering an additional layer of insulation and protection against the UK's often harsh weather.
Materials and Tools Needed To begin the repair, you'll need the following materials and tools:
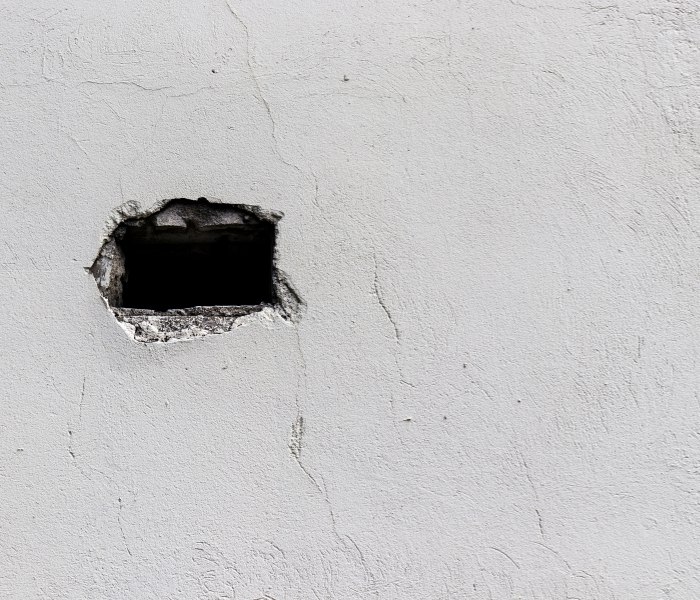
First, assess the size and depth of the hole in your rendering. Small holes can be fixed easily, while larger areas may require more effort and materials.
Use a wire brush or sandpaper to remove any loose material around the edges of the hole. Cleaning ensures the new rendering mixture adheres properly. Dust off the debris with a masonry brush.
Mix one part cement four parts fine sand, and a half part lime in a bucket. Add water gradually until you achieve a thick, paste-like consistency. The lime makes the render more workable and less prone to cracking but is optional.
Dampen the hole with a little water to help the new render bond to the old surface. Use a trowel to apply the mixture, pressing firmly to ensure it fills the entire hole and is level with the wall's surface. Smooth it out with the flat of the trowel.
If your wall has a specific texture, try to replicate it on the wet render using appropriate tools or even a brush. This step might require some practice to perfect.
Allow the render to dry and cure for at least 24-48 hours. Avoid applying it in direct sunlight or extreme weather conditions to prevent cracking.
Fixing holes in your exterior wall rendering is a straightforward DIY project that can significantly impact your home's appearance and protection. By following these steps you can ensure a successful repair keeping your home in top condition for years to come.
Holes in exterior wall rendering can be caused by a variety of factors, including weather wear (especially in the UK's variable climate), physical impact, water damage leading to erosion, and the natural aging process of materials.
Yes, small to medium-sized holes in rendering can be repaired as a DIY project with the right tools and materials. However, for large areas or if the damage is extensive, it might be best to consult a professional.
The drying time for rendering repairs can vary based on weather conditions and the thickness of the application. Typically, it takes 24-48 hours for the render to dry enough to be painted over but it can take up to a month to fully cure.
Not necessarily. If the repair is small and you can match the existing color and texture, you might not need to repaint the entire wall. However, for larger repairs or if there is significant discoloration, repainting might be required for a uniform appearance.
Including lime in the rendering mix is not strictly necessary, but it can improve the workability and durability of the render. Lime makes the mix more flexible, reducing the risk of cracking, and allows the wall to breathe, reducing trapped moisture.
Matching the original texture and color can be challenging but is achievable with careful application and practice. For texture, use tools or techniques similar to those used for the original finish. For color, you might need to repaint the repaired area or the entire wall for a perfect match.
It's a good idea to inspect your exterior rendering at least once a year, ideally during the spring or autumn. Look for cracks, holes or any signs of wear that could allow moisture to penetrate. Regular maintenance can prevent minor issues from becoming major problems.


